We’re crushing hard on flannels right now. Maybe it’s the back to school nostalgia that’s getting to us or maybe we just can’t help but love this closet staple. Either way, we’ve decided to give 3 of our favorite flannels 3 different makeovers. Bonus: it’s SUPER easy and really fun!
Flannel #1: Cozy Day Dress
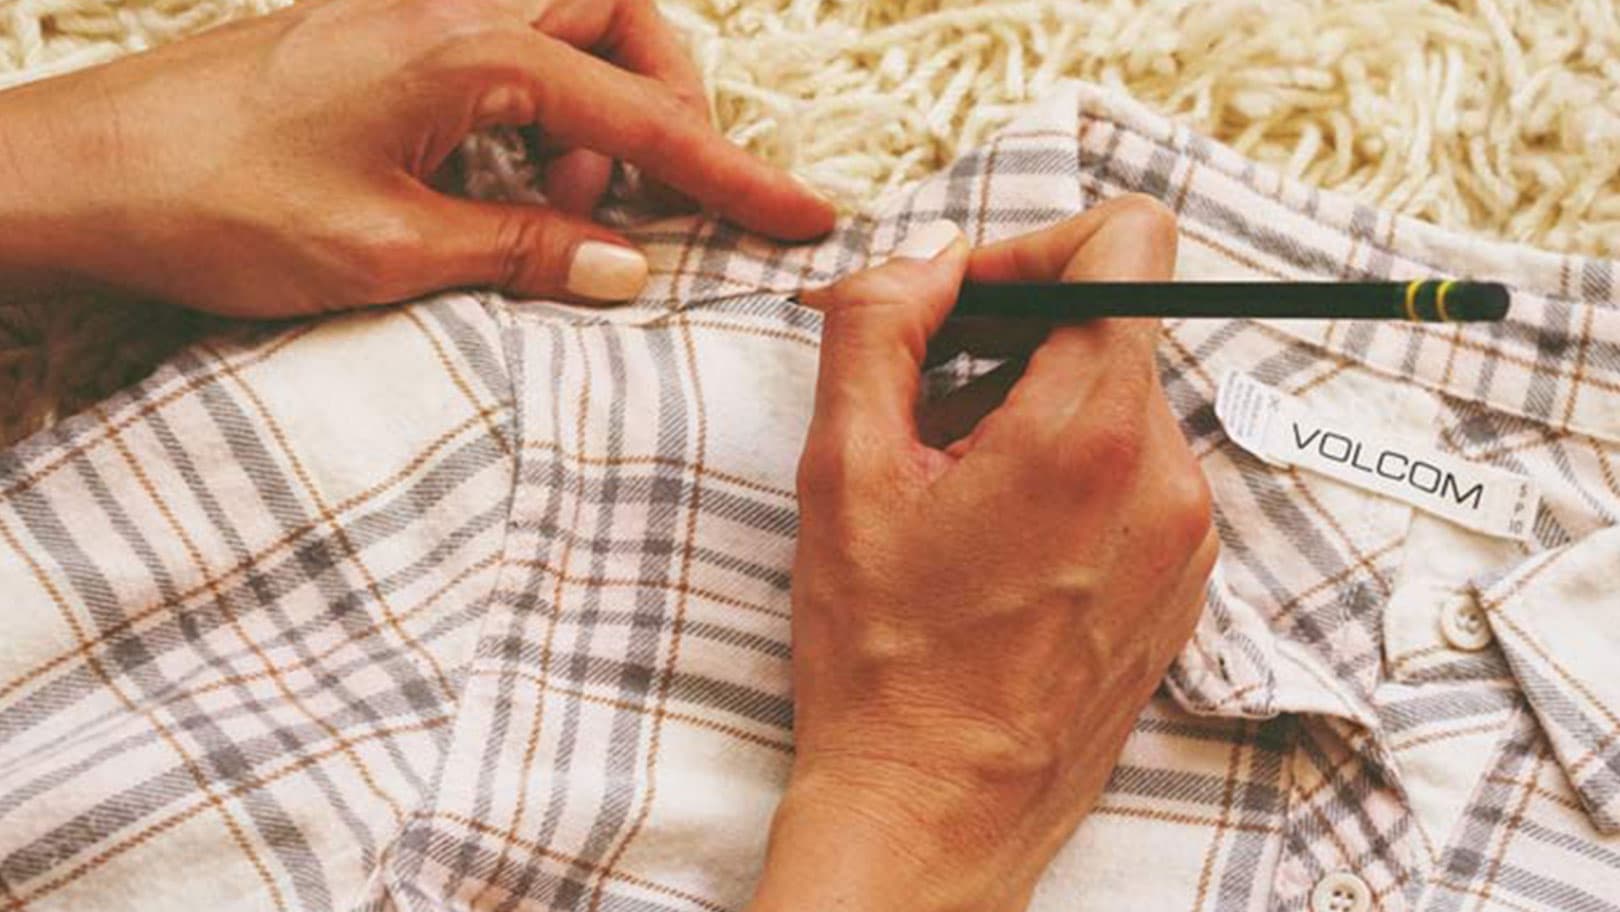
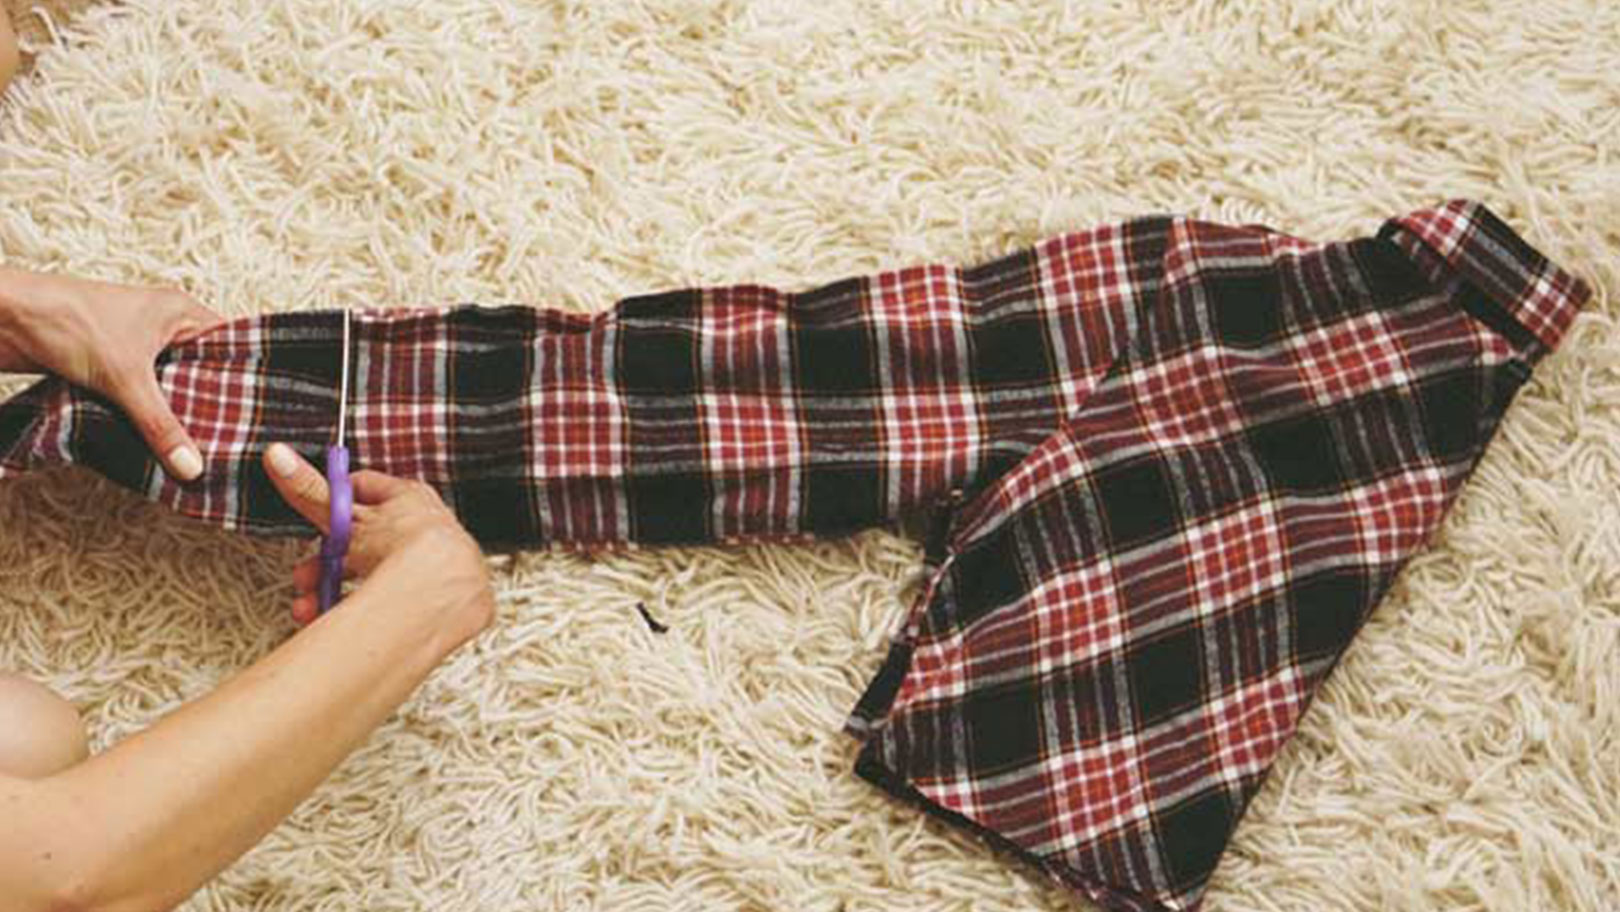
Our “what you need” list is really short with this one. Scissors. That’s it. Well, that and an imagination :)
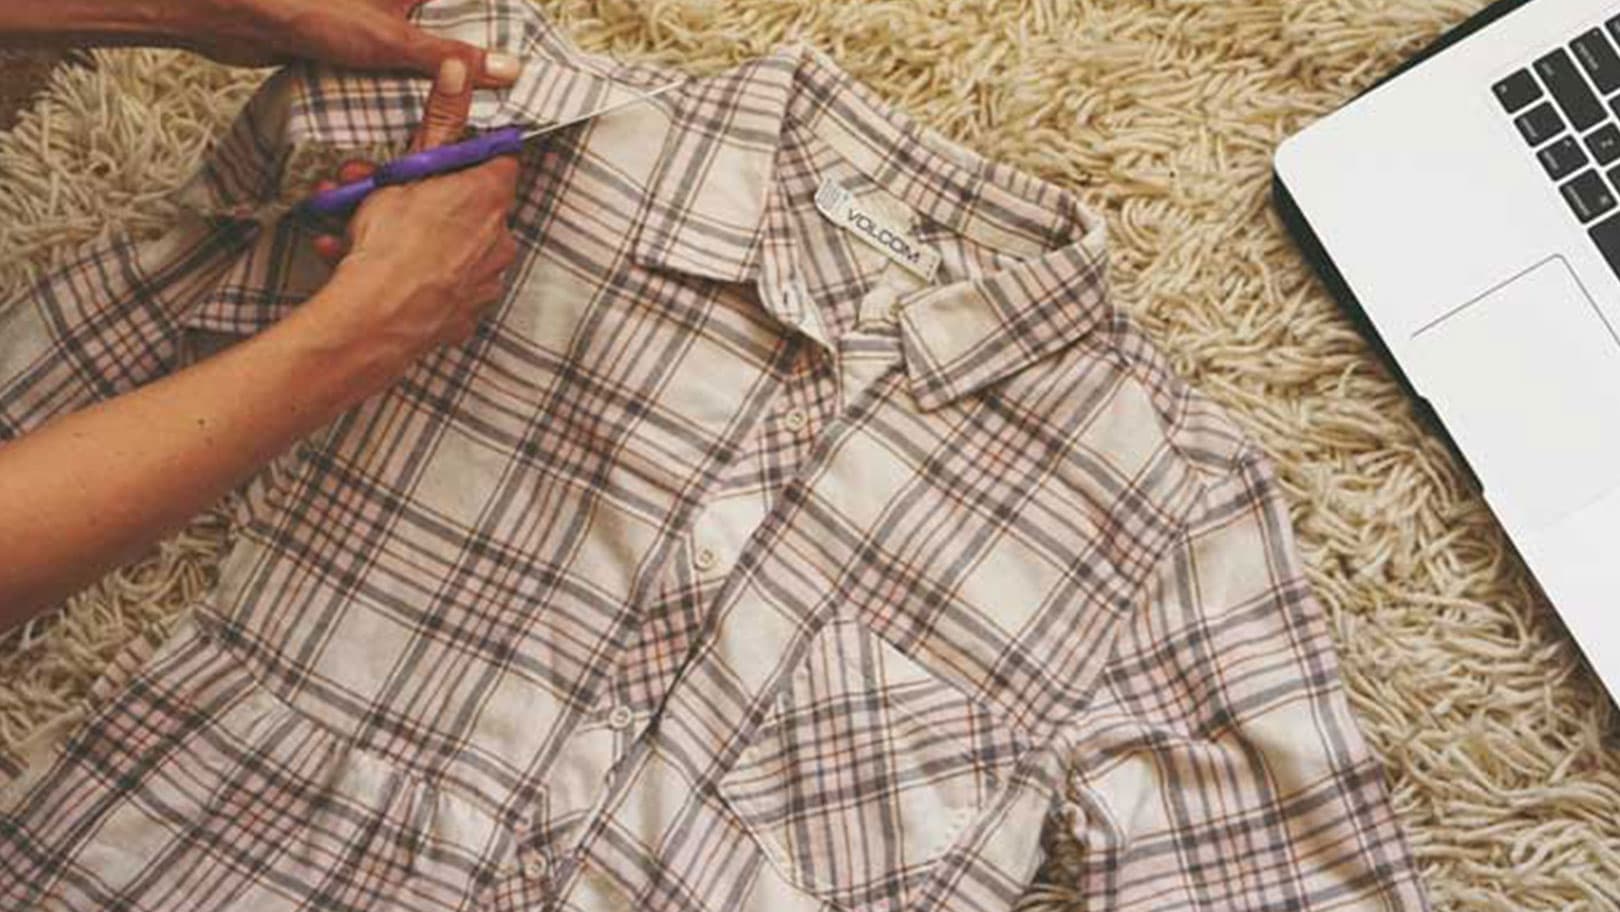
Start by laying your flannel flat on the ground. If you happen to do this DIY on our Cozy Day Dress, it is extra easy since there is a seam that you an cut across to make a straight line. if you’re using a flannel shirt then make sure to use a pen or a pencil and a ruler to draw a straight line across the flannel. Go ahead and start cutting. Remember that this doesn’t have to look PERFECT. We like this cut to be rough around the edges and to leave frays at the end to give it an edge.
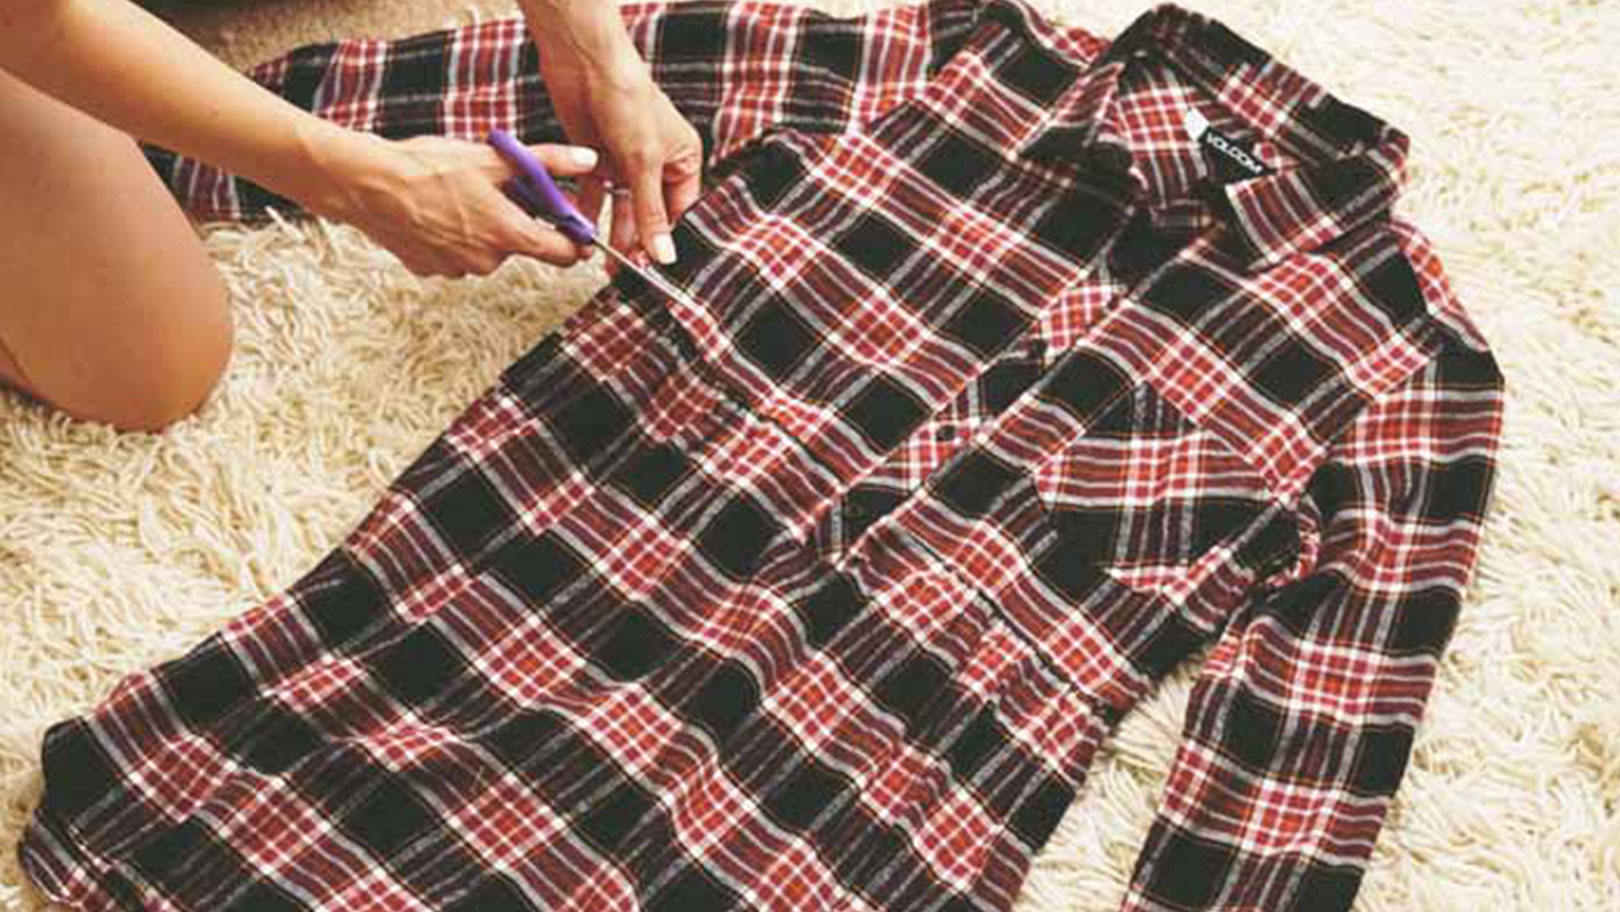
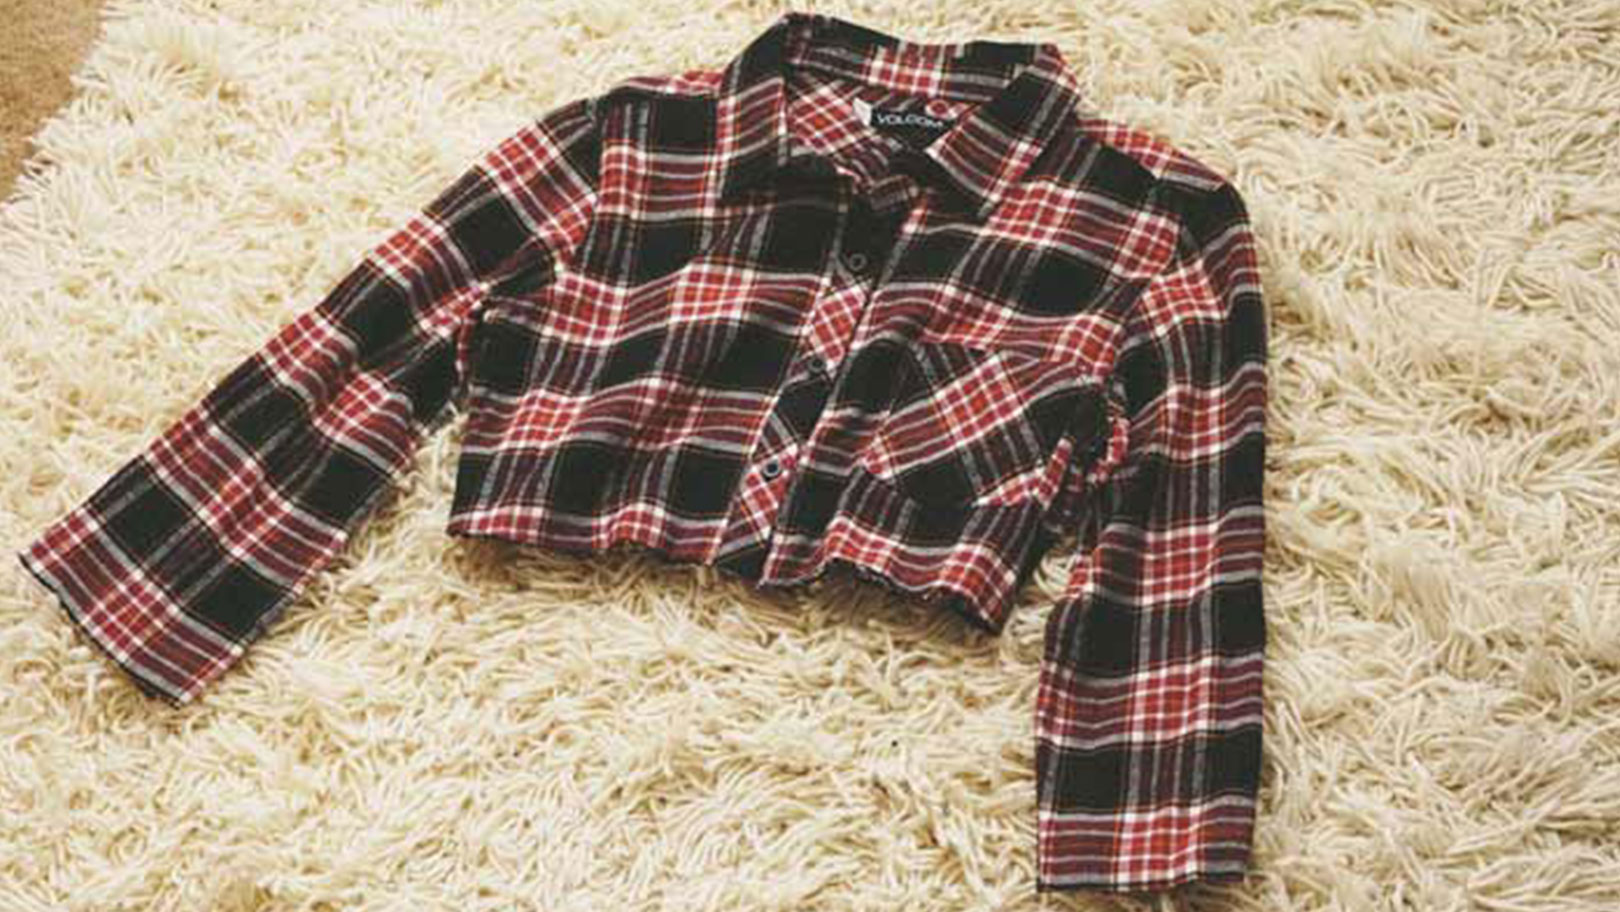

This part is optional. We decided to cut the sleeves shorter to give it some more fray. If you prefer your sleeves the natural length, then you can leave it how it is and you’re done! Choose a line in your flannel to be your length guide. Once you’ve cut one side fold your shirt in half and measure the sleeves side by side so that they are the same length.
Flannel #2: Cozy Day Long Sleeve Flannel
This second DIY takes more time and effort than the last one but the results in the end are totally worth it!
What you need:
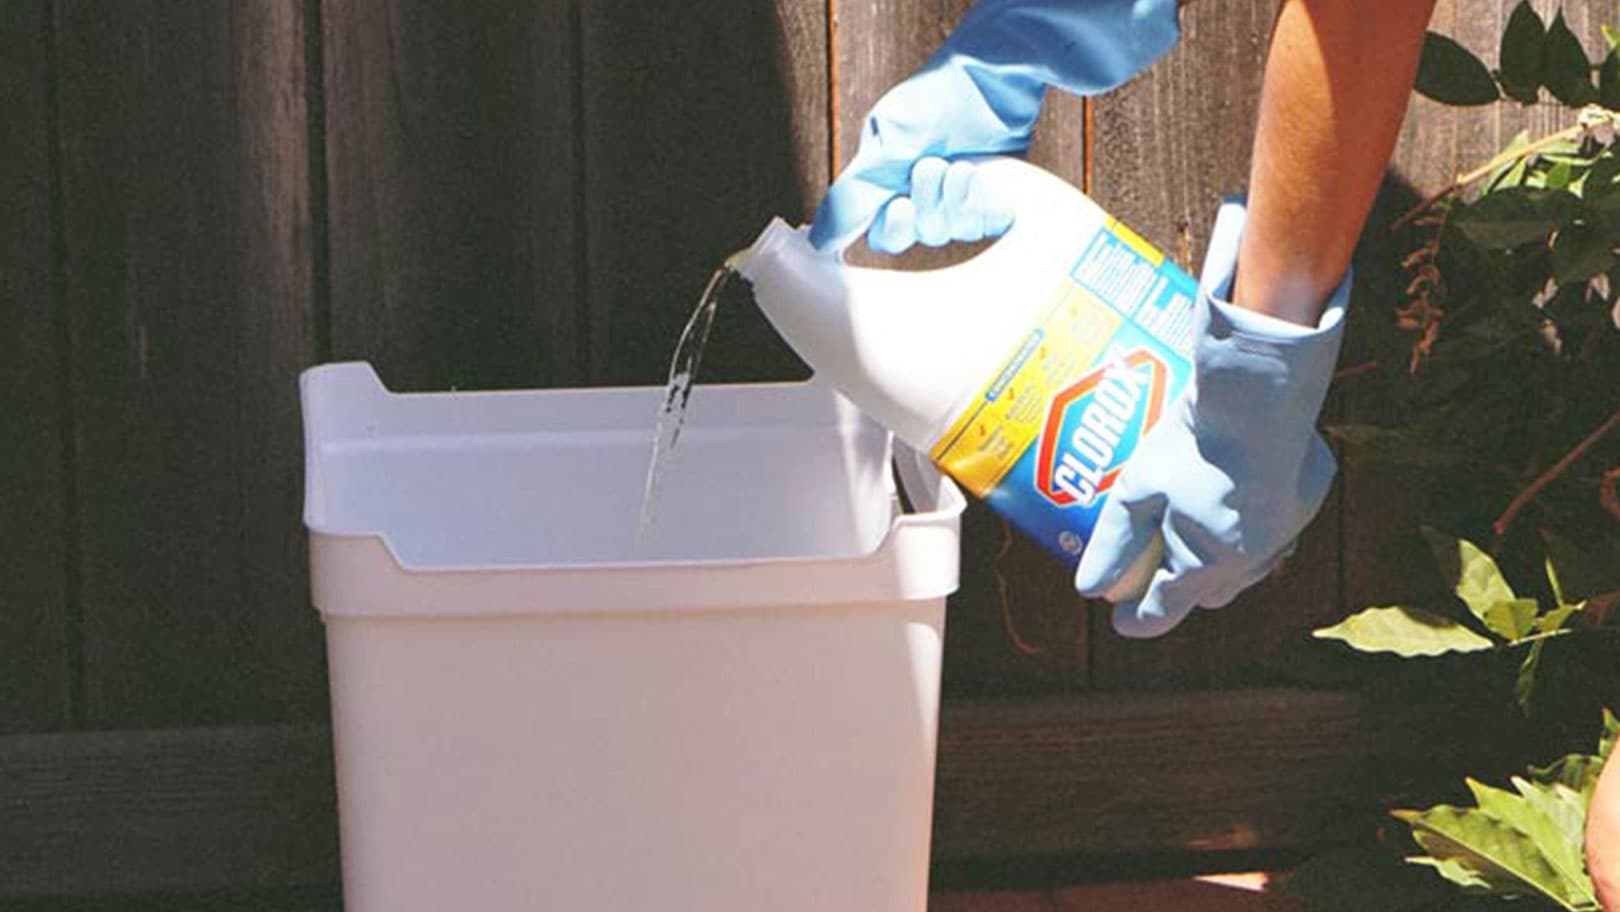
– A bucket
– Bleach
– Kitchen gloves
– Vinegar
– A plastic bag
– A rubber band
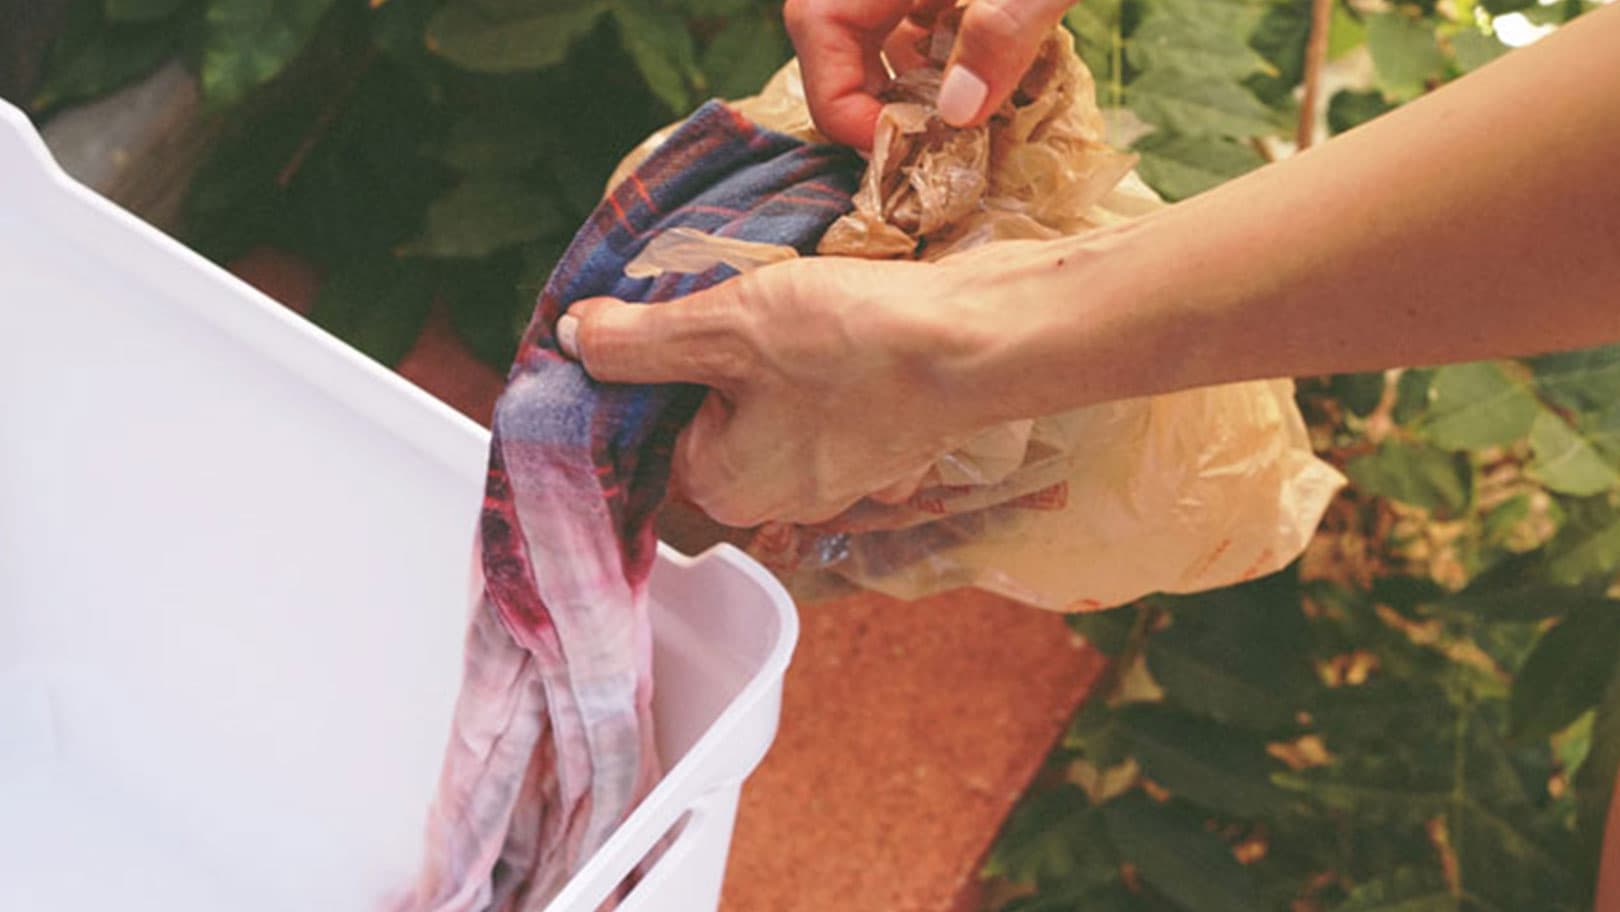
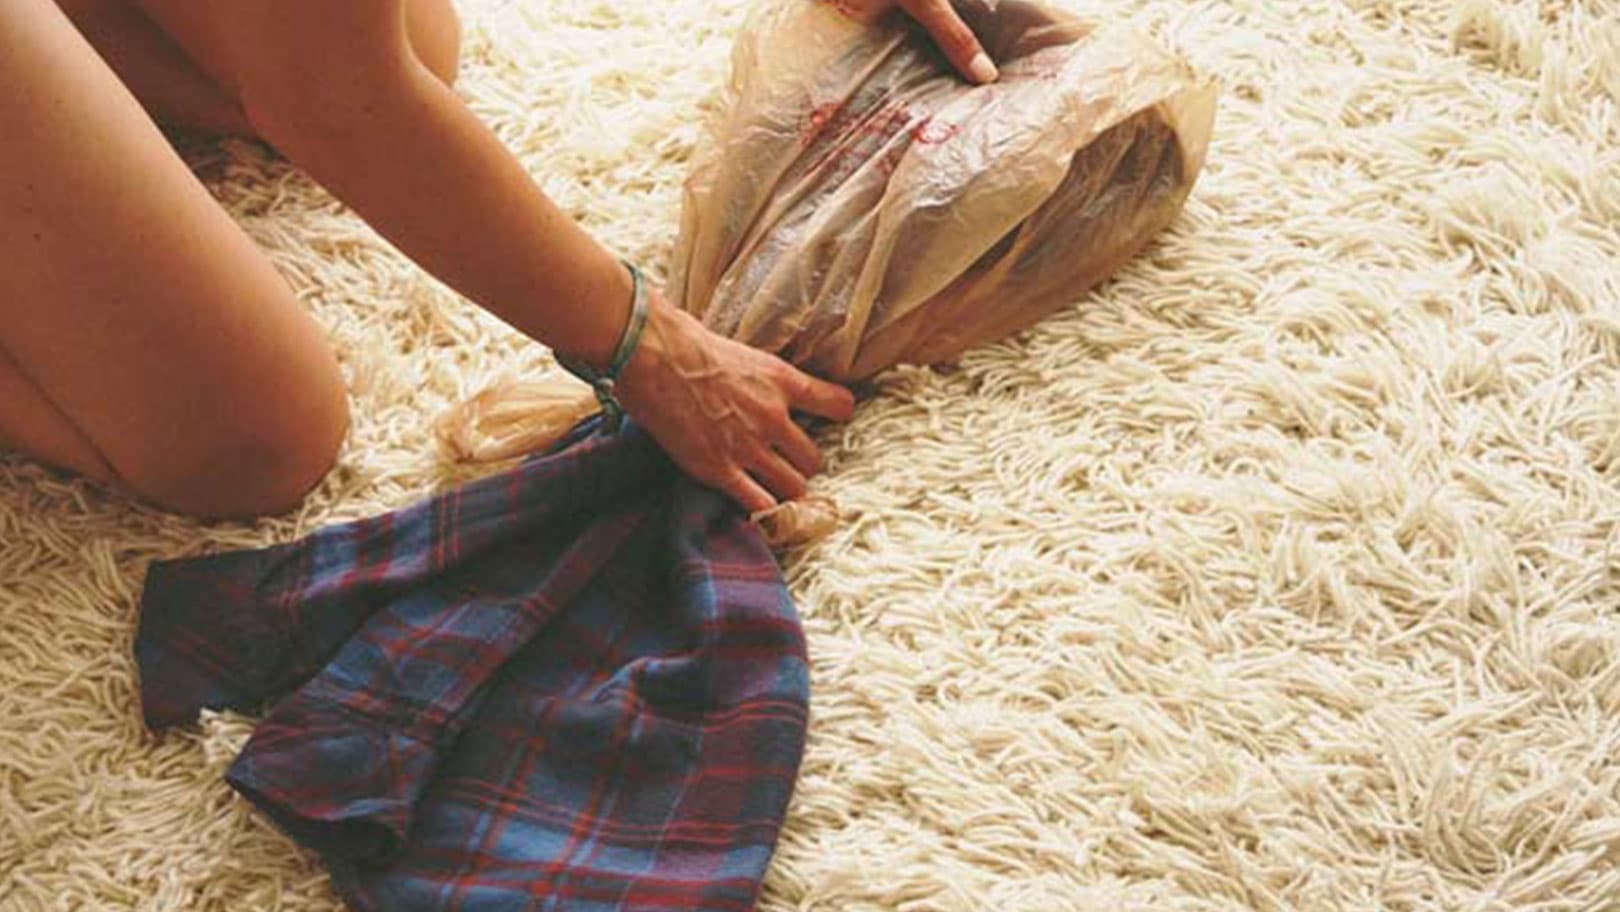
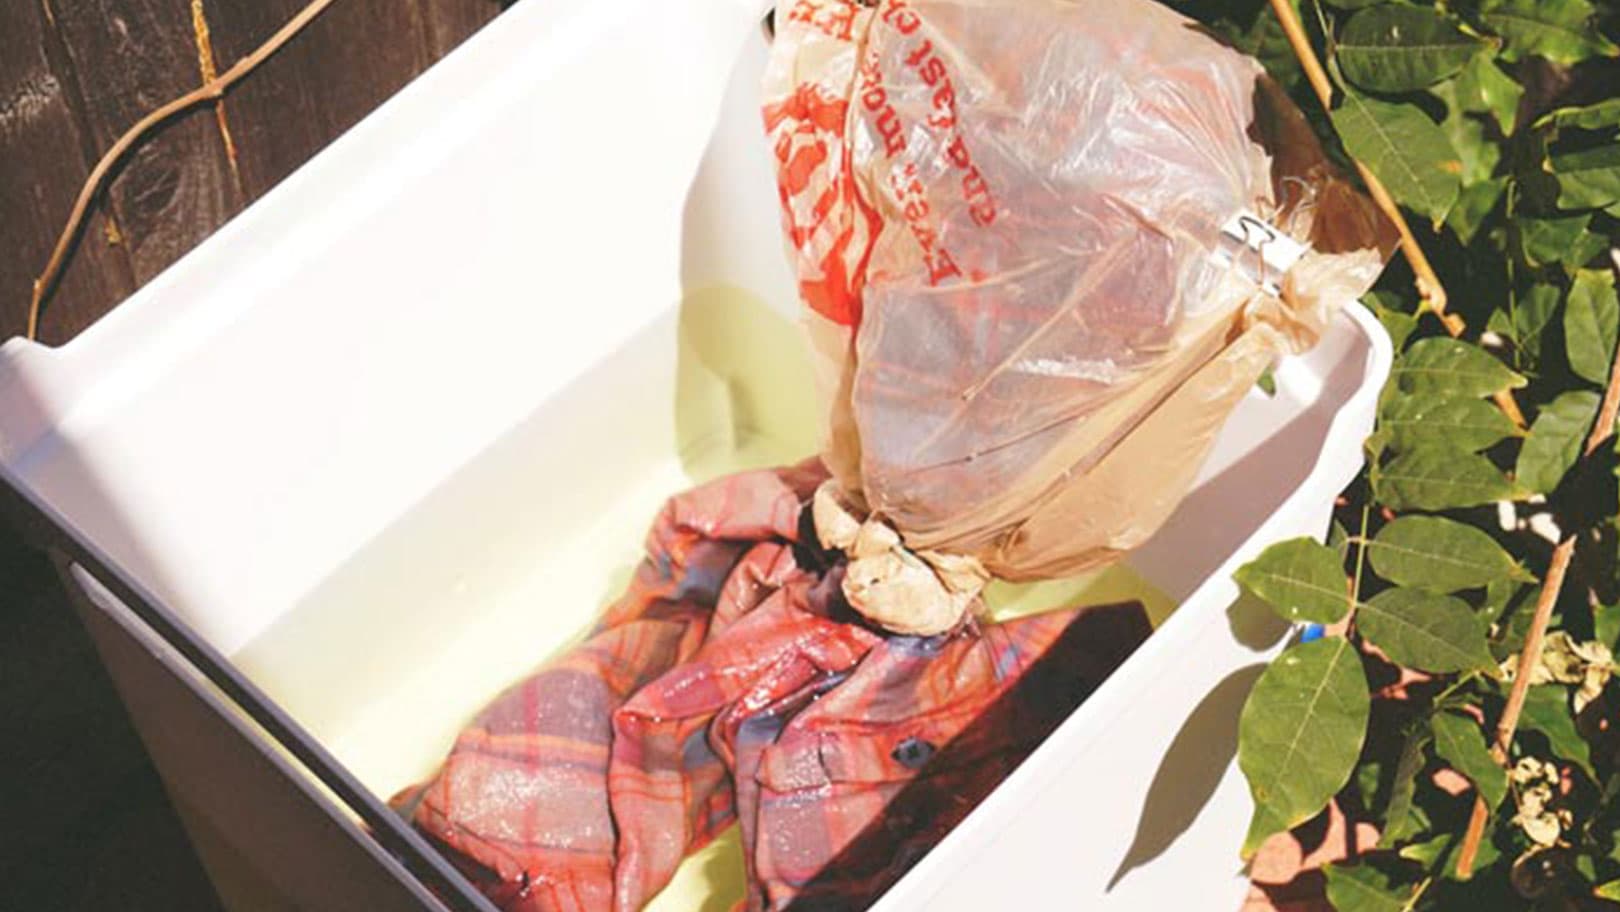
Start by filling your bucket up halfway with warm water. You want to do 2 parts water and 1 part bleach. So pour half the amount of bleach in your bucket. Start prepping your shirt for the bleaching process by laying it flat on the ground. To make sure the bleach distributes evenly on your shirt, fold the shirt in half. Grab your plastic bag and cover the top half of your shirt with it. Then secure it by tying the rubber band around the bag. Time to dip! Carefully place your flannel in the bleach / water mixture. Don’t forget to put on your kitchen gloves! Pro tip:: This project is best done outdoors so as not to fill your house with bleach fumes. No bueno! Swish it around to make sure the bleach is distributed evenly! You will start to notice the color change almost immediately. To get the most out of this process, we suggest you leave the shirt in the bucket for 30 minutes to an hour. We left it in for 30 minutes and it left a pinkish hue. If we had left the shirt in for an hour it would have been white. It’s completely up to you how you want your end result to be! To secure the shirt to the bucket, grab some clothes pins or anything you can find around the house to secure it.
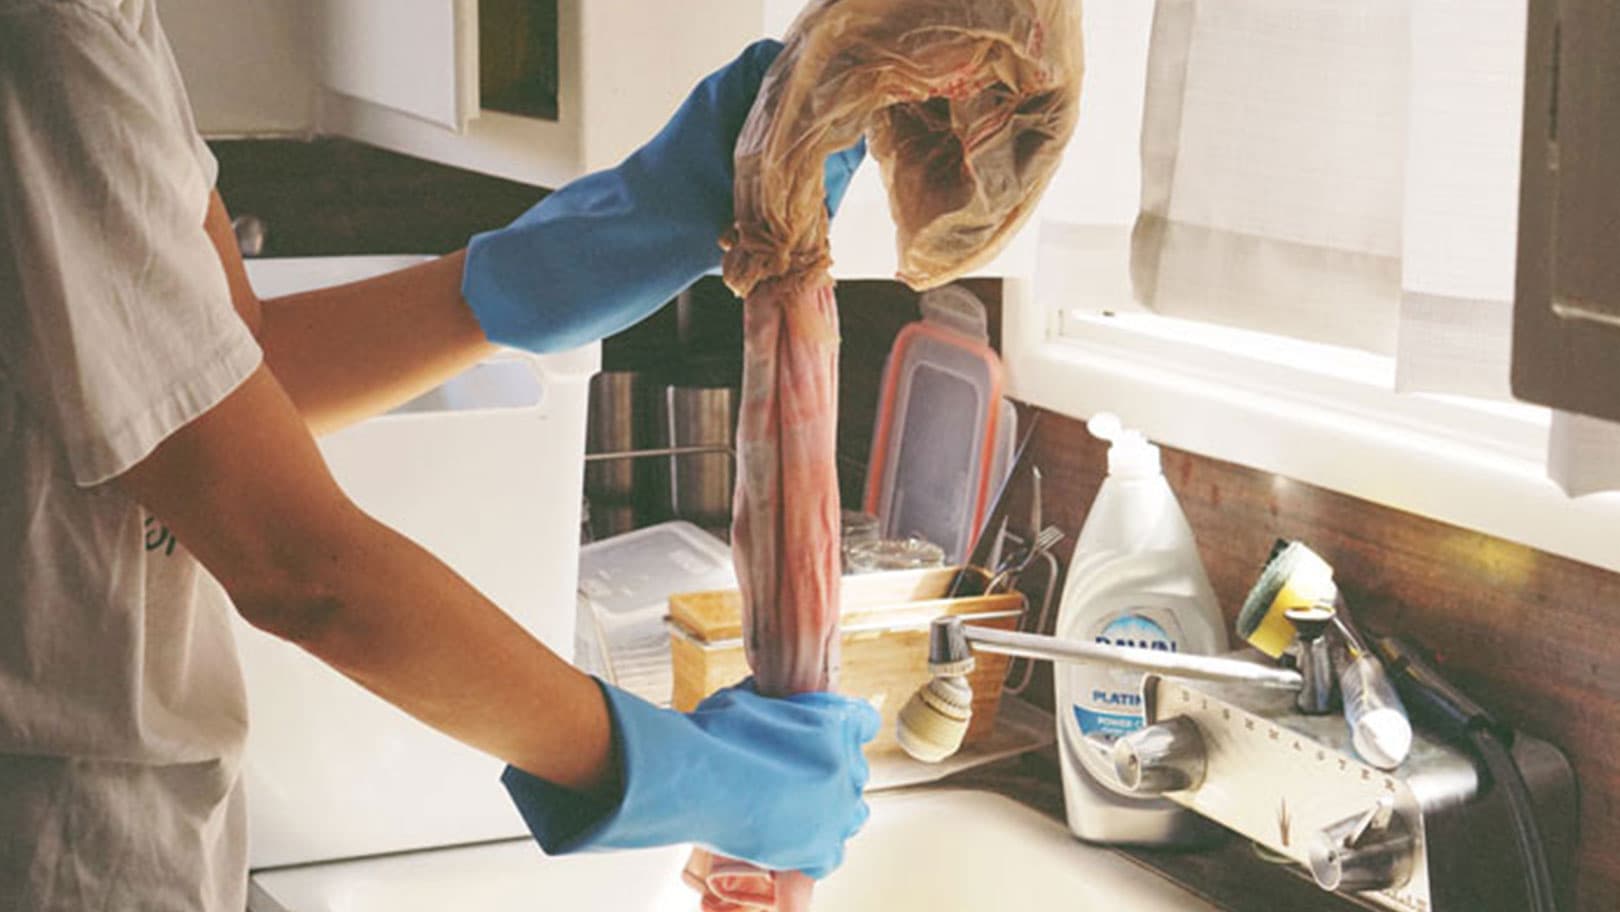
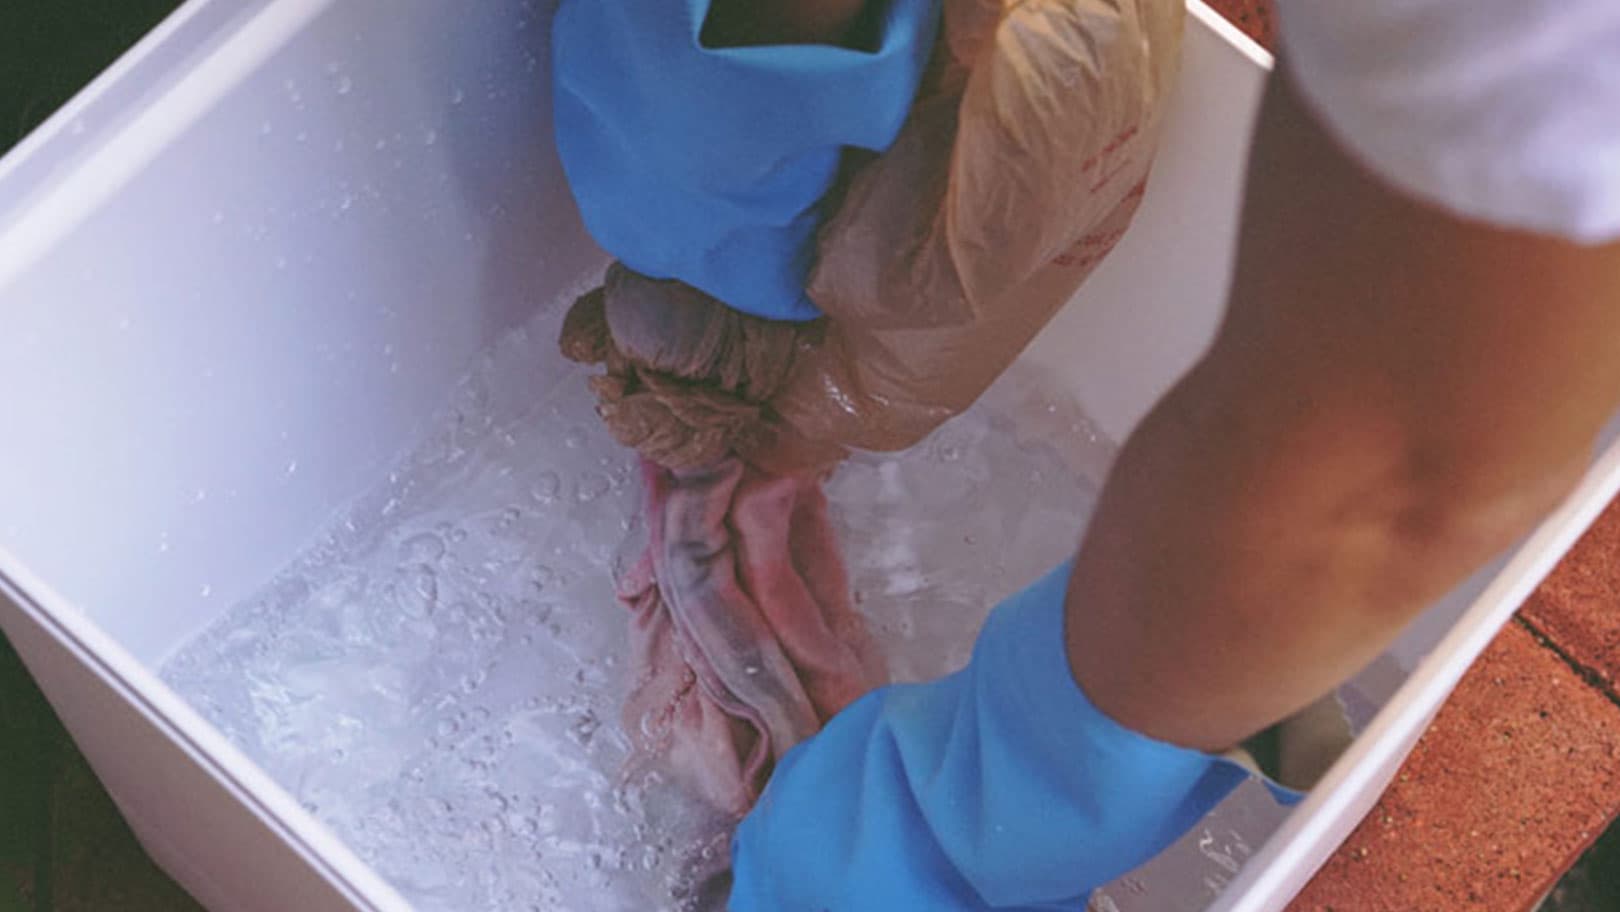
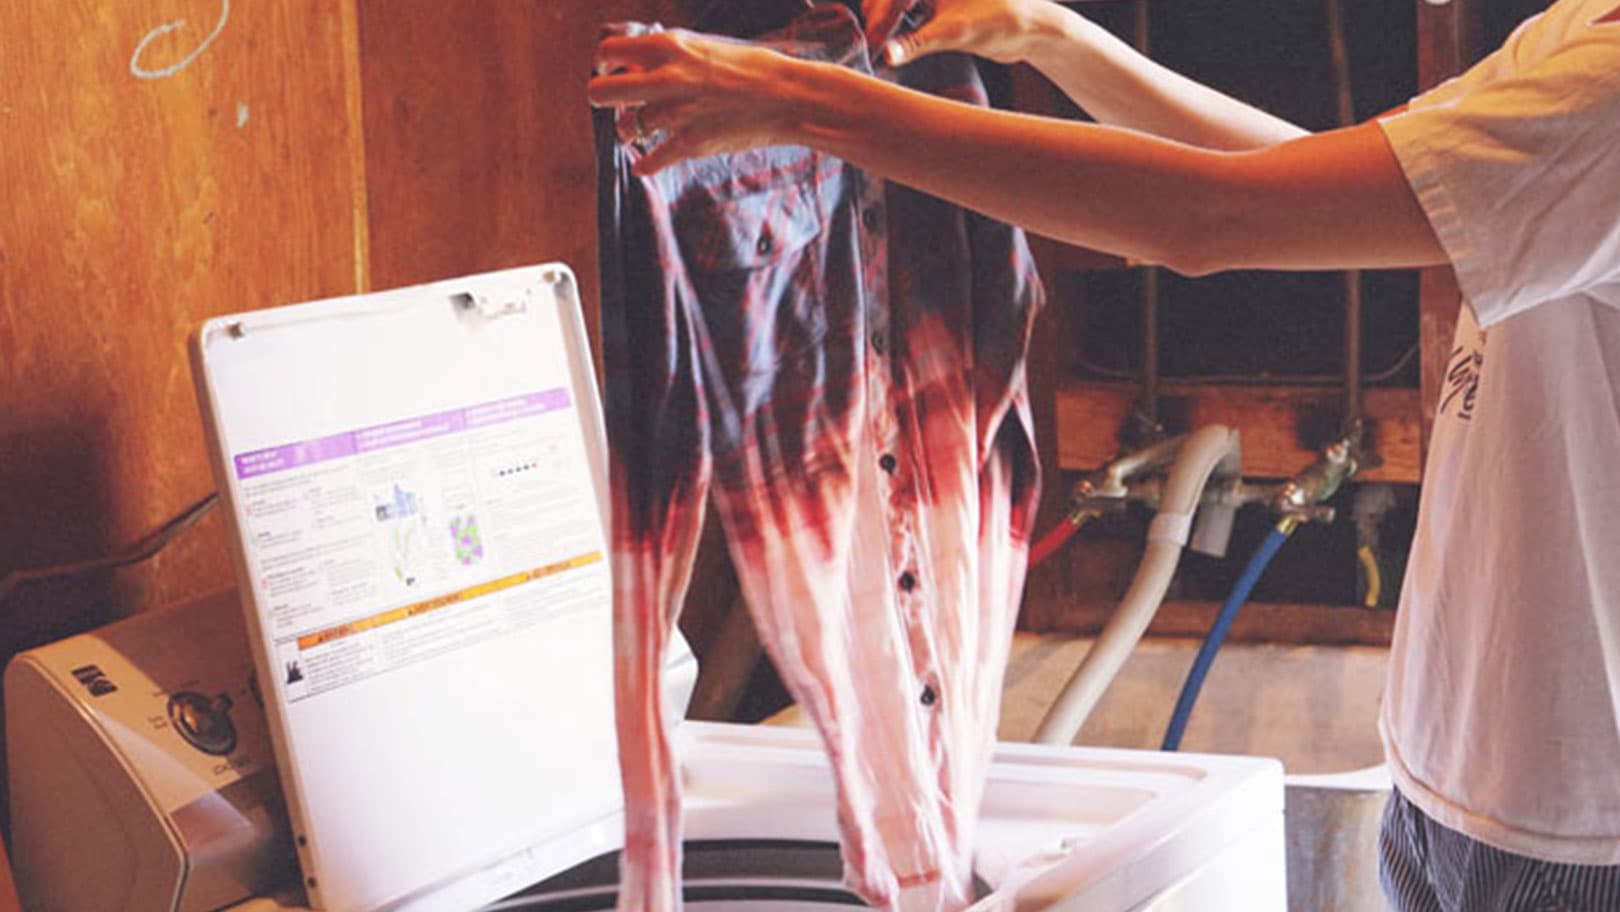
Once your 30 mins to an hour have passed, check your shirt to see if it looks good to you. If it’s still not as light as you would like it, leave it in an extra 30 minutes. Once you have reached the desired look, you have to move quickly to stop the bleaching process. Take your bucket to your sink and start rinsing your shirt. Dump out the bleach water and rinse your bucket. Once it’s free of all bleach, you need to fill it up again with water. Here is where the vinegar comes in! Apparently it helps stop the bleaching process. Pour the vinegar into your water and swish away. Once the shirt is rinsed thoroughly, you can take the plastic bag off to see the look. Looks good to us! The next step is wash it and dry it and you’re ready to wear it!

Flannel #3: Cozy Day Dress
This last DIY is just as easy as the first one. All you need is a pair of scissors! Instead of cropping the flannel dress, we’re going to be opening up the shoulders. It takes very little effort to make a big impact on this dress and completely transforms the look to make it more modern!
Lay your flannel on the ground. Use a pencil to draw where you’re going to be cutting to help guide you. Start from the top shoulder area and draw down. It’s better to start small and keep cutting if you’re not happy with the end result. If you cut a hole too big, you’re stuck with it. Once you’ve drawn your guide, start cutting. When you’re done with one side, fold your dress in half to do the other side. Use the cut side as your guide for the other sleeve and cut! Viola! It’s easy as 1-2-3!